
Formik kütüphanesini kullanarak çok daha temiz bir component oluşturmuş olduk. Herhangi bir state, handleChange, handleSubmit tanımları kullanmayarak daha temiz bir kod oluşturulmuş oldu. Tamamını Formik kütüphanesi içerisinde gerçekleştirebildik. Tabi bu yapıyı da daha iyi duruma getirmenin yöntemleri bulunmaktadır.
//src/components/FormWithFormik.js
import { View, Text, TextInput, StyleSheet, Button } from "react-native";
import React from "react";
import { Formik } from "formik";

const FormWithFormik = () => {
  return (
    <View style={styles.container}>
      <Formik
        initialValues={{
          username: "",
          email: "",
          password: "",
          passwordConfirm: "",
        }}
        onSubmit={(values) => {
          console.log(values);
        }}
      >
        {({ values, handleSubmit, handleChange }) => (
          <>
            <View style={styles.item}>
              <TextInput
                style={styles.input}
                placeholder="username"
                value={values.username}
                onChangeText={handleChange("username")}
              />
            </View>

            <View style={styles.item}>
              <TextInput
                style={styles.input}
                autoCapitalize="none" //Oto büyük harfle başlamayı kapattık
                keyboardType="email-address" //Eposta formatına göre klavye açacak
                placeholder="e-mail"
                value={values.email}
                onChangeText={handleChange("email")}
              />
            </View>

            <View style={styles.item}>
              <TextInput
                style={styles.input}
                placeholder="password"
                secureTextEntry
                value={values.password}
                onChangeText={handleChange("password")}
              />
            </View>

            <View style={styles.item}>
              <TextInput
                style={styles.input}
                placeholder="password confirm"
                secureTextEntry
                value={values.passwordConfirm}
                onChangeText={handleChange("passwordConfirm")}
              />
            </View>

            <View style={styles.item}>
              <Button title="Register" onPress={handleSubmit} />
            </View>
          </>
        )}
      </Formik>
    </View>
  );
};

const styles = StyleSheet.create({
  container: {
    width: "100%",
    padding: 20,
  },
  item: {
    marginBottom: 4,
  },
  input: {
    borderWidth: 1,
    borderColor: "#999",
    padding: 10,
    fontSize: 24,
    width: "100%",
  },
});

export default FormWithFormik;
Yukarıdaki gibi veya aşağıdaki gibi kullanılabilir.
Formik tanımını return içerisinde yazmak istemiyorsak formik altından bize useFormik isminde bir tanım (hook) geliyor. Bunu kullanarak da aşağıdaki gibi kodumuzu düzenleyebiliriz.
//src/components/FormWithFormik
import { View, Text, TextInput, StyleSheet, Button } from "react-native";
import React from "react";
import { useFormik } from "formik";
const FormWithFormik = () => {
const { values, handleSubmit, handleChange } = useFormik({
// kullandığımız values, handleSubmit ve handleChange i burdan
// useFormik ile kullanmış olduk.
initialValues: {
username: "",
email: "",
password: "",
passwordConfirm: "",
},
onSubmit: (values) => {
console.log(values);
},
});
return (
<View style={styles.container}>
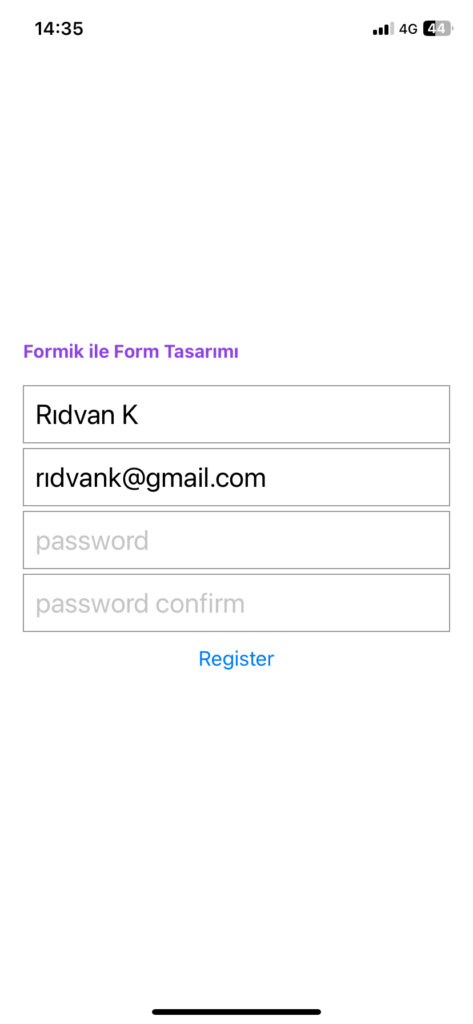
<Text style={styles.text}>Formik ile Form Tasarımı</Text>
<View style={styles.item}>
<TextInput
style={styles.input}
placeholder="username"
value={values.username}
onChangeText={handleChange("username")}
/>
</View>
<View style={styles.item}>
<TextInput
style={styles.input}
autoCapitalize="none" //Oto büyük harfle başlamayı kapattık
keyboardType="email-address" //Eposta formatına göre klavye açacak
placeholder="e-mail"
value={values.email}
onChangeText={handleChange("email")}
/>
</View>
<View style={styles.item}>
<TextInput
style={styles.input}
placeholder="password"
secureTextEntry
value={values.password}
onChangeText={handleChange("password")}
/>
</View>
<View style={styles.item}>
<TextInput
style={styles.input}
placeholder="password confirm"
secureTextEntry
value={values.passwordConfirm}
onChangeText={handleChange("passwordConfirm")}
/>
</View>
<View style={styles.item}>
<Button title="Register" onPress={handleSubmit} />
</View>
</View>
);
};
const styles = StyleSheet.create({
container: {
width: "100%",
padding: 20,
},
item: {
marginBottom: 4,
},
input: {
borderWidth: 1,
borderColor: "#999",
padding: 10,
fontSize: 24,
width: "100%",
},
text: {
color: "#8e43e7",
marginBottom: 20,
fontSize: 16,
fontWeight: "bold",
},
});
export default FormWithFormik;//App.js
import { StatusBar } from "expo-status-bar";
import { StyleSheet, Text, View } from "react-native";
import Form from "./src/components/Form";
import FormWithFormik from "./src/components/FormWithFormik";
export default function App() {
return (
<View style={styles.container}>
<FormWithFormik />
</View>
);
}
const styles = StyleSheet.create({
container: {
flex: 1,
backgroundColor: "#fff",
alignItems: "center",
justifyContent: "center",
},
});